Trade Secrets
A misunderstanding!
Many people have a misunderstanding of the way in which glass engraving is carried out commercially. Hand engravers typically use a dentist drill to scratch and carve images into the glass, whereas commercial engravers use an entirely different technology:
 |
 |
 |
| Step 1: The artwork is generated by computer, and output to a 1200dpi printer. | Step 2: The print-out is turned into a film negative, using a "Repro-graphic Camera" in our dark room. | Step 3: The film image is then transferred onto a silk screen, using UV light sensitive emulsion. Photo-engraving engraves just the surface of the item. |
 |
 |
 |
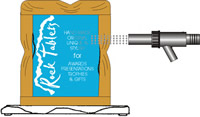
| Step 4: Using a rubberised ink squeegeed through the ultra fine mesh of the screen, stencils are printed onto a tissue paper and then heat cured. If 100 glasses are to be engraved, then 100 stencils have to be produced! | Step 5: The stencil is then glued to the item of glass or crystal, using a water based adhesive. | Step 6: Once the adhesive has dried, tape is used to cover surrounding 'exposed' glass. |
 |
 |
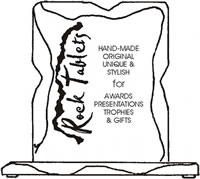 |
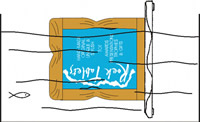
| Step 7: The item is then sandblasted in a special cabinet. Very fine white aluminium oxide is propelled by compressed air against the stencil. This removes the white tissue and cuts into the glass. | Step 8: When the whole image has been deeply engraved, the tape and stencil are washed off. All the products we use are water soluble. No chemicals - we are a green company! | Step 9: The item can then be washed and polished - and admired by everyone! Our linework engraving is deep enough to dig your fingernail into. |
The Finished Article
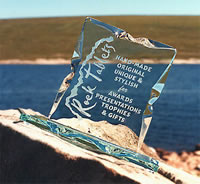
When engraving single pieces, we have the facilities to use a UV sensitive film which, instead of being applied to a silk screen, is directly applied to the glass item. It is this technology which allows us to complete high quality photo-engraving.